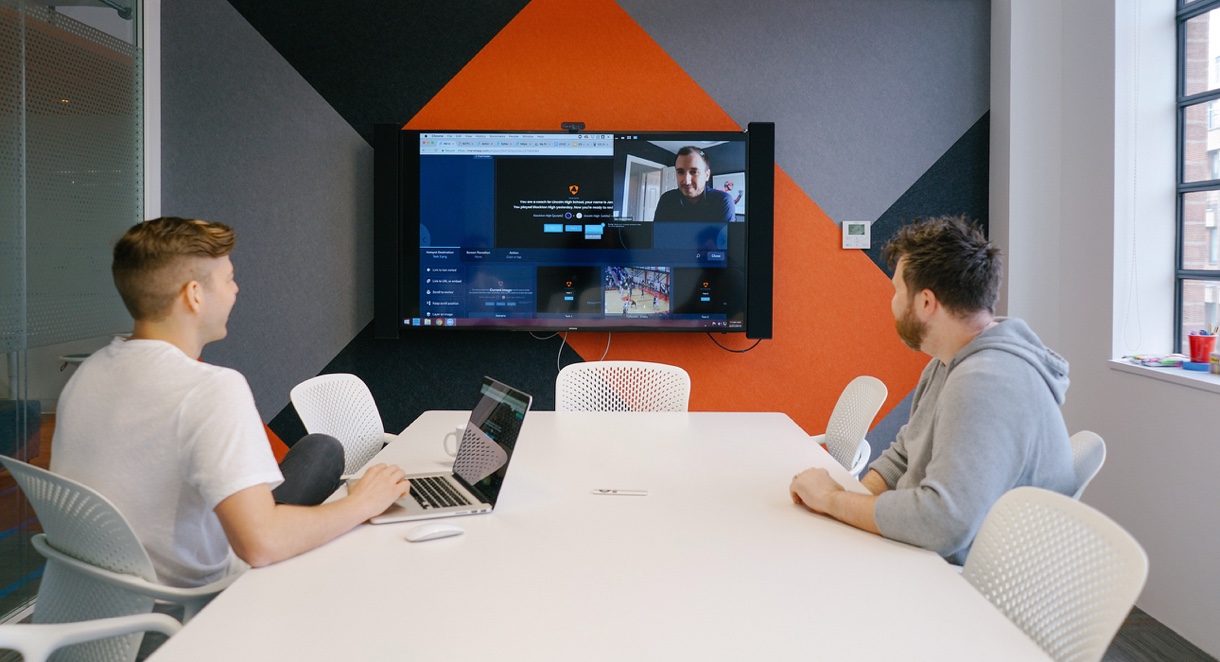
"Shall we Zoom?"
If you're one of the millions of new Zoom and Google Meet or Hangouts users then this a question you'll likely be hearing every day.
Now that everyone from governments to schools are using Zoom or Google to move projects forward, we've put together this handy guide to using our new User Testing feature in combination with video conference to create remote testing sessions.
If you need to conduct remote, moderated usability tests, this guide is for you. We're going to focus on using Zoom and Google Meet/Hangouts but this method works almost exactly the same for other video conference software.
Note: This guide relates to our new User Testing feature which records video, audio and screen interactions. Find out more here.
A quick recap on the difference between moderated and unmoderated testing
Unmoderated testing is where the participant takes your test without a human there to guide them or ask questions along the way. It's perfect for low-touch research where you may not have the time to spend 30-60 mins on calls with each participant or the designs and prototypes are straight forward (like testing a new button position or layout). The downside is that you may not get the best quality results or answers as you can't dig into the participant's thoughts and feelings during the test.
Moderated testing is where you are present during the test and can talk to the participant in real-time as they move through your prototype. We recommend this type of test for more complicated flows or new features that need to be validated.
This, of course, takes more time as you need to schedule, plan and then conduct the session, but you should be rewarded with higher quality responses.
Today we're going to focus on moderated, remote usability testing using video conference software and Marvel. Let's get you prepared before jumping into the setup:
Step 1: Define your test
First and foremost, define a goal. What idea, design, feature or hypothesis are you testing and why? Without this, you'll end up looking for answers without a question.
We're big believers in keeping things simple, try these headings in your document that outlines your test:
- What are we testing? - Sketches, flows, features, wacky ideas.
- Why are we testing this? - What hypothesis or assumption are you testing?
- Who are we testing with? - Age, location etc of your participants.
- How are we testing? - Remote, in-person, mobile devices, etc.
This will align everyone in your team when they come to review the results.
Step 2: Plan your questions for during and after the test in advance
Having a standard set of questions to ask during the session helps bring some uniformity to the results you gather, but don't afraid to go with the flow if things don't go according to plan!
You should avoid leading questions so try to start each question with:
- "How would you..."
- "What did you think of..."
- "How did you find..."
- "Which of those did you find best?"
Step 3: Create your user test in Marvel
For this walkthrough, we're going to assume you already created a prototype in Marvel. Once that's done, you can create your user test in just a few clicks.
Here's how:
- Create a user test
- Select the prototype you want to test
- Click ‘Invite participants’
- Click 'Copy' on the invitation link
The invitation link is what you'll provide your participant instead of the usual prototype link. This starts a user test session in Marvel where the audio, video, screen recording and metrics from the test will be recorded.
Remote user testing sessions using Zoom and Marvel
We'll use Zoom for moderation and interaction with the participant and Marvel for recording and storing the user test, which includes the audio, video and screen recording, alongside the metrics from the session.
- Start a Zoom call with your participant
- Ask the participant to click the 'Share screen' button to share their screen
- Ask the participant to click on your Marvel user test invitation link
- Now ask them to fill in their name and email address, check and accept the permission to record, then click 'Start test'
The test session has now begun! You can now start asking questions and moderating the session.Once you're done, ask the participant to click 'Stop test' and the result will appear in your Marvel project within a few seconds.
Remote user testing sessions using Google Meet or Hangouts
If you use Google Hangouts or Meet, the process is almost identical to Zoom. The main difference is that Google services are browser-based.
- Start a Google Meet or Hangouts call with your participant
- Ask the participant to click the 'Present Now' and then select 'Your entire screen' button to share their screen
- Ask the participant to click on your Marvel user test invitation link
- Now ask them to fill in their name and email address, check and accept the permission to record, then click 'Start test'
Your session is now underway! You can now ask questions. When you're ready to finish ask the participant to click 'Stop test'.
If you use a different video conferencing platform, you'll find this process works for pretty much all of the services that allow screen sharing! Get started and create your first user test in Marvel by clicking here.
Need to find participants to recruit? Check out our previous article on the free and paid options out there to help you get started.
Go one step further with your research and add instructions and context with video guides, improving the quality of unmoderated testing.


