Prototyping is one of the earliest steps in the process of creating a product. With prototyping, a team can establish what a product should look like, how its end-users should interact with it and then validate these ideas before moving forward with development.
Without needing to commit to development resources, you and your team can test out ideas for websites and apps, and understand your users' needs and behaviours which can then be iterated to properly suit your end users. On top of that, it's great for demonstrating your ideas to stakeholders - including teammates, potential customers and even investors.
In this first of a three part series covering the basics of Marvel, we’ll be taking you through all things prototyping. With Marvel, you'll be able to create a feature-packed prototype which demonstrates exactly how your finished product should look and behave to your stakeholders!
Now, let's dive straight in!
Creating a prototype project
When you’re getting started, the "what", "who", "why" and "how" needs to be clearly defined.
What's the product going to be, who's it for and why would someone need to use it? As we're working with a prototype, we need to think about the steps that the end-user would take when they actually interact with the finished product - also called the user story.
Take an online retail app as an example. You’ll need to think about what the user will see and interact with on the home screen, what items will be available to buy, how will they go on to view and purchase the products? Once you've thought about the steps that a user should take while accessing your product, you can then start to actualise this by designing a prototype.
Within Marvel, you can create a prototype project for anything that will be viewed on a screen; an app, website, marketing assets and much more. There’s multiple device types available with the correct resolution including iPhone, iPad, Apple Watch, Android and Pixel ensuring that your prototype as realistic as possible.
Still stuck for inspiration? Many customers, from different industries, company sizes and needs, have all used Marvel! With our platform, our customers have demonstrated ideas for early stage start-ups (and got investors and new employees onboard), transformed existing products that had unfriendly UX, tested the look and feel of their product on devices currently on the market, worked with our easy-to-use platform to teach design in workshops and hackathons, created snappy presentations along with so much more!
Once you’re ready to create a project on Desktop, here are the steps you can follow:
- Go to your Dashboard
- Click the Create project
- Select Prototype and enter your project name and select a device
- Select Create project
- Choose to add designs in the Design Tool

Bringing your designs into Marvel
There are several options when bringing in your work to Marvel that suit different workflows when designing.
Some users prefer the feel of pen to paper when jotting down their initial designs and creating quick mockups, while others are more concerned with collaboration in real-time. Some may also be limited by the tools that other teams are already working with, or might need an option that they can use offline.
With Marvel, you’ll have a range of options when it comes to bringing in your designs:
- Upload images: If you already have designs you can easily import them via PNGs, JPGs and GIFs
- Take photos: If you’ve sketched out your ideas through paper prototyping then you can take photos of your hand-drawn designs and upload them to Marvel through our iOS or Android app
- Sync from Sketch: You can sync your local Sketch files, as well as those hosted with Sketch cloud, providing you with more opportunities to collaborate with any members on your design team
- Design directly in Marvel: Access wireframes, icons and stock photos from our design tool so you can quickly create mockups
Even without an internet connection, you can upload files from your phone offline and sync with your account once you’re connected. Enabling you to access your work anywhere.
To upload your images, you’ll need to:
- Go to your Dashboard
- Click the Create project
- Select Prototype and enter your project name and select a device
- Select Create project
- Click Add images, select Upload from computer. Alternatively, you can drag and drop your designs straight into the browser window to upload them to your project.
To add images on the app:
- Click Create project
- Tap the + button
- Select Camera
- Aim the camera at your sketch and tap the camera icon
- Repeat until you've taken pictures of all your sketches
- Tap the green check button
- Resize and crop any screens
- Tap the green button to save your images

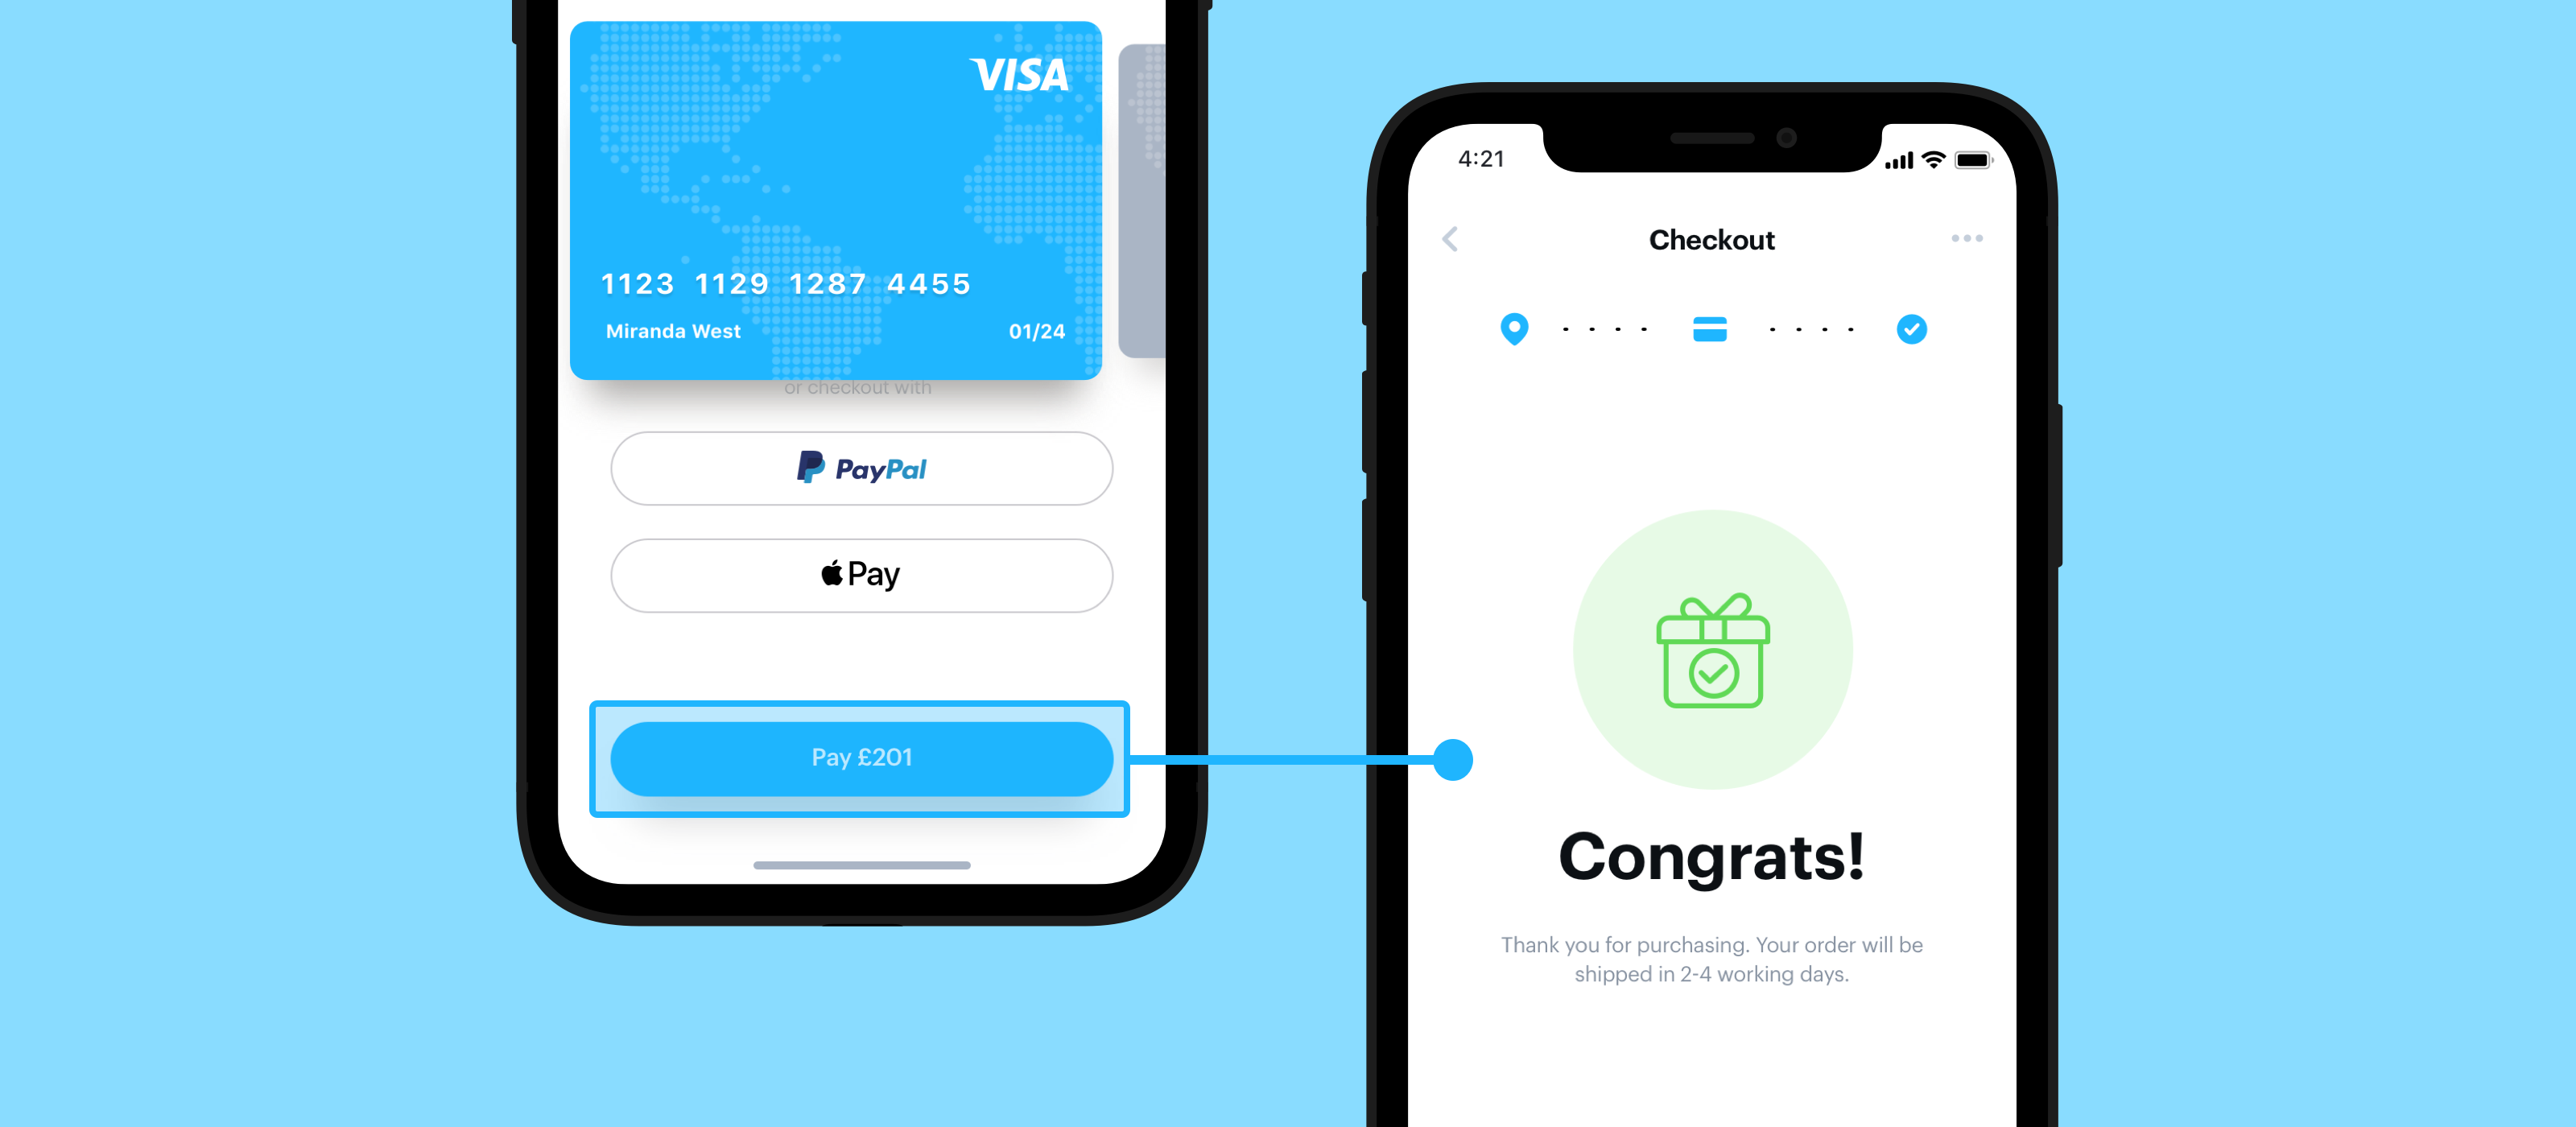
Creating realistic interactions
Now you’ve added your designs to your prototype, you’ll need to give the illusion that the end-user is following the steps that they would in a coded app. In Marvel, 'hotspots' and 'transitions’ initiate the actions that give the illusion of movement throughout a prototype.
Hotspots are clickable areas which initiate an action that you’ve predetermined. With a hotspot, you can choose for an end-user to go to the next screen, or reveal a drop-down box, or even open a new page to an external website!
Transitions meanwhile make the interactions between hotspots look more realistic. For example, mobile users can move through the prototype by swiping through screens, or see a screen with new information fade into visibility.
It’s these movements that give the look and feel of a finished product. The more hotspots, transitions and other features used in a prototype, the more realistic the prototype is. With the use of the features available in our prototype editor, our users have been able to create carousels, sidebars that are scrollable, floating elements that remain static while the rest of the page scrolls, along with other great aspects of a prototype, without needing to code!
Adding hotspots and transitions
- Hover over any image that you've uploaded and click Prototype to enter the editor
- Once in the editor, click and drag over any area of the design to draw a hotspot
- Select the target image for the hotspot
- Select additional screen transitions and actions
- Click Play to interact with your prototype

Start gathering feedback
Now you’re ready to play and interact with your prototype as if it was a working product.
Quickly share your prototype with team members, clients or developers and review UX experiences, gain feedback, pitch ideas and much more.
Prototypes can be played in a desktop browser or within our apps so they can be used by the device they were designed for. Leading to more accurate and useful feedback on the UX.
Viewers can add and view comments within play mode. Ideal for capturing insights or providing any additional context needed when viewing the project.
When working with developers, all the code, spec and assets from Marvel or Sketch designs, can be viewed by selecting Handoff when in Play. Improving collaboration between teams and leading to faster development.
Playing your prototype
- From your project dashboard, hover over your project and click the play icon
- From your project click the green Play icon or hover over the screen you'd like to start from and click the play icon
In short, creating a prototype is an unmissable step in your design journey, and creating a prototype which is as close to your proposed end-product as possible, the more likely the team can find logistical pitfalls in the product and make improvements before building anything.
By using all the tools available with Marvel, you and your team can create a prototype that looks and feels like a real app or website and give your end-users more opportunity to interact with the prototype, get the feedback you need to make smart iterations to the prototype to build a better product.