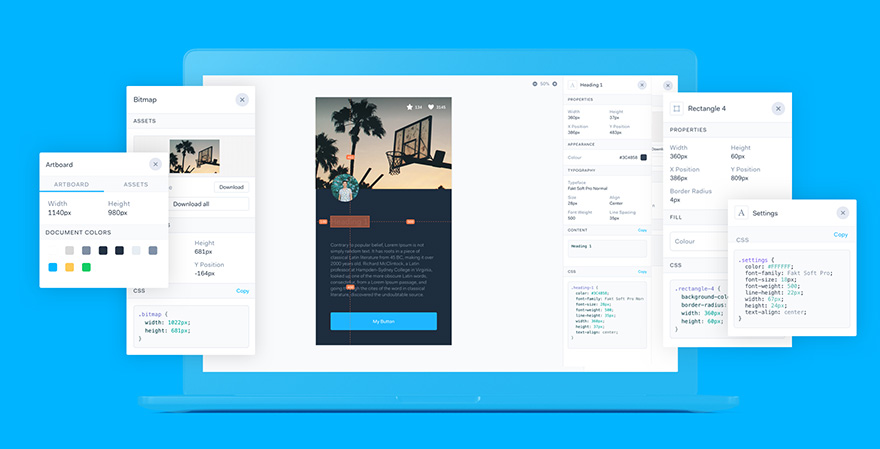
To build prototypes in Marvel, all you need to do is import your designs. Whether they're low-fi wireframes you drew on paper or hi-fi prototypes you built in Sketch, you can add these as static images to a project and make them interactive by adding hotspots. These hotspots link together your designs to create a flow which in the end will feel like a real life website or app mock up.
Historically, our prototype player used to load all images upfront, which works well with small prototypes, but worsens the user experience the bigger a prototype gets. Loading this way meant that despite opening a prototype and only going through the first few screens, all of the images would get downloaded at once, regardless of how many screens they viewed.
We recently decided it's about time we optimised our image loading in the prototype viewer and rethink our current approach. In this blog post we'll explain how we've improved image loading since.
Why loading all images upfront is not a great idea
There's a number of reasons why this doesn't work well. From a business perspective, the more images we need to serve to the browser, the more our bandwidth costs increase. But our pockets aren't the only ones getting hurt, downloading all the images is also costly for users. Accessing Marvel via mobile connection, having limited data, and having to download a few MBs of images every time you view a prototype adds up very quickly and is simply wasteful.
And it's not just downloading images that gets costly, every image needs to be decoded and rendered by the browser, which can lead to wasted system resources.
Along with those reasons to find a new solution, there is another bonus of optimising our image loading. In the past if you clicked a hotspot taking you to a new screen that is not close to the previous one, there is a good chance that the image would not have loaded yet. With our new approach, all of the images you might need in the immediate future get downloaded first.
Graph to the rescue
All of our screens are stored as a graph, which we can use to our advantage. But what does that mean exactly?
A graph is a data structure that represents relationships between the stored items.
Graphs can be directed or undirected. Facebook relationships are a good example of undirected graph. You send a friend request to someone and once they accept, you become friends and it's both ways. Instagram on the other hand is an example of a directed graph. You can follow someone on there, but they don't have to follow you back for you to be able to see their posts.
How does this apply to our screens?
In order to improve image loading, we decided to utilise a concept called breadth-first-search. Breadth-first-search can be simply illustrated by different approaches to acquiring new skills - some people learn as much as they can about a certain subject before they move on to another, whereas others like to cover as broad spectrum of different skills going on at the same time as possible. The latter approach is an analogy for breadth-first-search.
In context of loading our screens, this works as follows:
- For each current screen, we load its next and previous screens, as well as any they link to through hotspots
- This applies to a depth of 3, meaning that once we've found the next, previous and linked screens, we repeat the whole process for those screens until we've covered three depths
- We use queues to keep track of the screens that need to be handled next
Let's look at a visual example
It's all good and well explaining this in a few bullet points, but let's give this a little more clarity with an example!
Below, you can see that we retrieve the previous (P), next(N) and linked (L) images for our current image which sits at the top. It so happens that next image is also the linked image in this case. This is our depth of one, done.
Moving onto depth of two.
We can see that there are two screens at the depth of two, so let's get the previous, next and linked screens for the first of them. You can see (below) that the next screen of the current screen happens to be the image that we started with.
Now we're done with the first screen, let's then move onto the next one and get its previous, next and linked screens. By now, you're probably beginning to see the pattern.
After checking all depth 2 images, we arrive at 3 depths of images. Et voilà!
Of course, we also need to make sure that every time you navigate to a new screen, we start this process all over again. However, we don't calculate the related screens if we've already done it for a particular screen, saving some time on unnecessarily traversing the graph, and saving your hard earned cash by not downloading the images multiple times.
We hope you've enjoyed this quick rundown of how we've improved our image loading. We've already noticed a massive difference and seen an improvement in the loading speed of our prototypes, especially the big ones.


