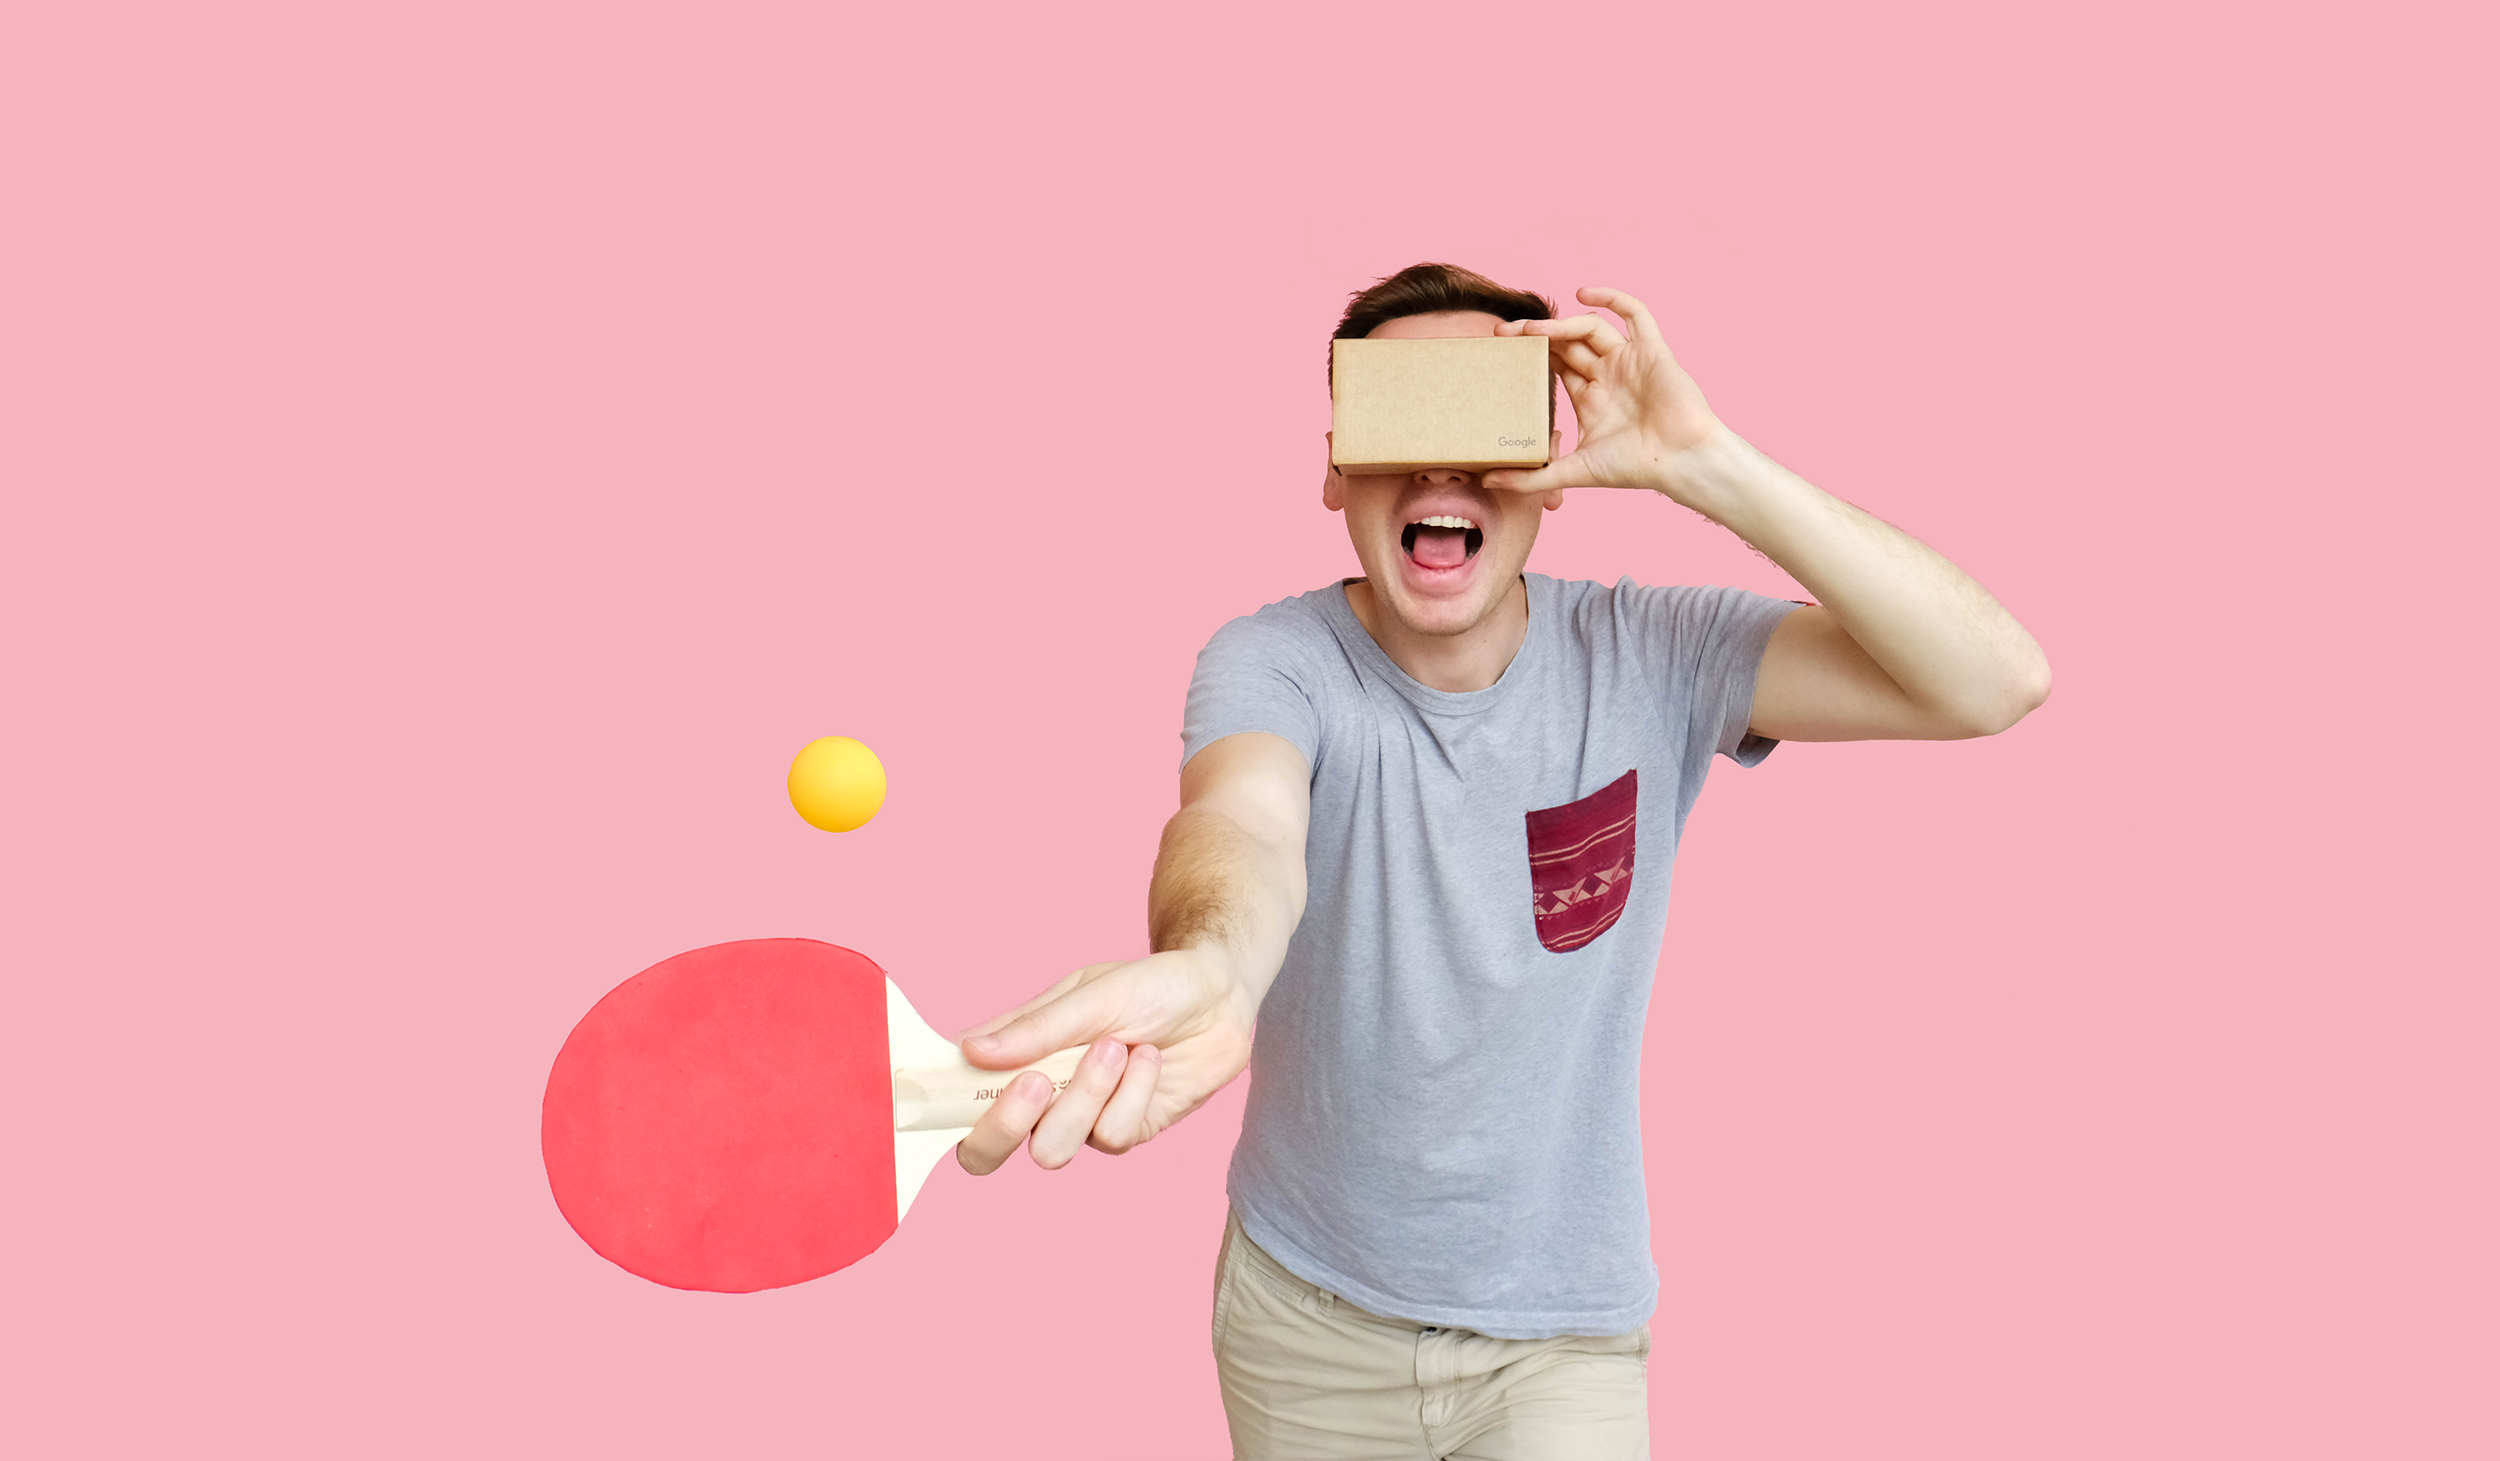
VR is slowly but surely going mainstream. It feels like we've been waiting forever for the technology to go from huge installations like this to the living room of consumers in the form of PlayStation VR and HTC Vive.
In the next 3 years, Forrester predicts that over 52 million virtual reality headsets will be sold and earlier this year, Samsung revealed they've already sold 5 million Gear VRs.
However it still feels like the tools and processes needed to lower the barrier of entry for product designers and wider teams is some way away.
If you've tried dipping your toe in and designing or prototyping for VR, you've no doubt been confused with what sizes to make your designs, the equipment you need to buy and the software you need. Don't worry you're not alone!
Luckily, a few kind folks have written posts to help get started, I read through 'Getting started with VR Interface Design' and 'Design practise in Virtual Reality' to get inspired.
This quote by Alex and Sam caught my eye:
“Workflows that designers have spent years refining won’t go to waste and can be used to craft VR UIs”
It got me thinking, what if I could hack my existing workflow to be able design and prototype for VR? I gathered my ingredients:
- Some designs made in Sketch
- A prototype made in Marvel and viewed in the Marvel iOS app
- A Google Cardboard headset (I also considered making my own with a spare pizza box).
So after a few days of hacking, here's a glimpse of something fun that I've been working on - Marvel for VR!
Here's what I did:
Hacking our iOS app
We have a popular iOS app that allows you to create and view prototypes on your phone. I wanted to use this and Google Cardboard as the headset for my VR prototype in Marvel.
Currently the app only supports 2D designs so I needed a way to support 360° images which provide a simple base for our VR scenes.
I used the Apple SceneKit SDK to transform the images in the prototypes into 3D environments, then enabled the accelerometer to track head movements.
Marvel uses 'hotspots' to quickly link designs together to form prototypes. A hotspot is essentially an interaction area you draw over your design that allows the user to click or touch to move to the next screen.
I would need to slightly change the default behaviour of the hotspots in Marvel to work with VR.
Although Google Cardboard (and most VR headsets) includes an action button that works just like a click or touch, I also wanted to allow the user to just look at a hotspot for a couple of seconds and progress to the next screen without needing to do anything else.
Now that the tech was sorted, the next step was to figure out how to design for VR prototypes...
Designing for VR
Apparently, the first thing I needed to start designing for VR was a 2:1 ratio artboard in Sketch or Photoshop.
I found this great template by Facebook to help me get started.
The Facebook VR Template also comes with some handy guides. The green guide defines a comfortable viewing angle for the user when wearing the heaset. Yellow shows you what will be at the edges of the users vision and hopefully trigger their curiosity. The red part is what the user can just about see.
Now we've got our template, I'm ready to start designing. As a big fan of Game of Thrones, I've created two fictional screens for my “Game of Marvel” game.
The first screen is the 3D environment and the second is a menu which displays when the game is paused.
For the background, I created a 360° image of a scene using Cinema 4D.
However! You don't need 3D software to get started, it could be any 360° image or even just a white background. Flickr has a great collection of 360° images which you can find here.
You've probably noticed from the 360 images above, everything looks quite stretched and a bit strange. This is due to images being wrapped around a sphere when you view them through a VR headset to give the impression of a 360° view.
I've added a little 3D illustration to give you an idea of what's happening under the hood:
Grab the Sketch file here.
A word of warning:
Since your design will be wrapped around a sphere you need to be aware the buttons you add to your design also become spherized. I've noticed the bigger the buttons, the more noticeable the effect becomes. I recommend to not go over 400x400px for shapes on the 4000x2000px Facebook template.
Prototyping in Marvel
Nothing crazy here, I created a Marvel project and added my images, then linked them together with hotspots using the editor.
End result
I loaded the project on the Marvel iOS app and slotted my phone into the Google Cardboard headset and viola! The first ever Marvel VR prototype!
Check out the video below, you can see the interactions with the hotspots in the pause menu.
It took me less than 5 minutes to link my designs together to create a VR prototype and view it using the iOS app. The end result is surprisingly immersive for the amount of time spent and a lot of fun.
What's next? If this is a feature you would love to see in Marvel, you can add your upvote for it here.
Are you working on VR experiences? We'd love to hear from you via Email or Twitter


