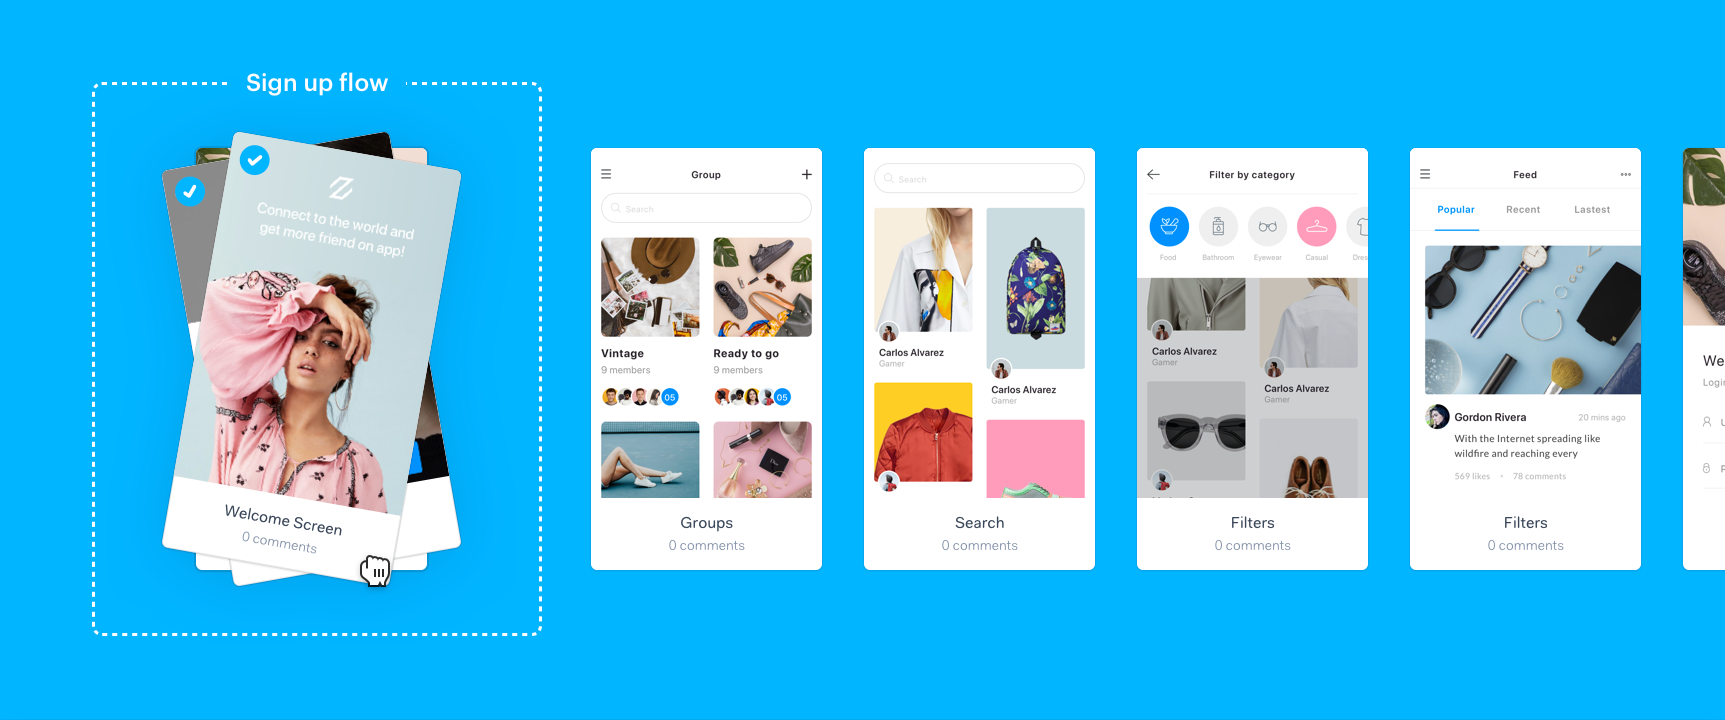
One of the great things about Marvel is how it’s used in so many different ways. We’ve seen so many creative uses of the platform that we wanted to share a few ways to get the most out of one of our most popular features called sections.
The story behind why we created sections was to solve the problem when projects scale to hundreds of screens, making them difficult to manage, present and collaborate on. Sections comes to the rescue and helps you organise screens and makes it easier than ever to communicate flows, journeys and ideas.
It comes out of the box with two great features:
- Create dividers around specific flows: Organise your projects into different sections based on whatever them you choose.
- Share the link to any section: Enable stakeholders and developers to view a specific section instead of your entire prototype, making it easier to focus.
Now you know a little bit about sections, here are our top 5 ways to use them that might inspire your next project:
1) Separate the different flows within a project

The most popular use of sections is to divide projects into different flows to help communicate to collaborators and stakeholders viewing the project where each part of the feature or product starts and ends.
Let’s take an example of a typical app which may have the following areas:
- Sign up
- Onboarding
- Dashboard
- Upgrade
- User profile
- Billing
Each of these areas of the app can be divided into a section within your Marvel project, making it easier to manage but also communicate visually with anyone collaborating.
Here’s how:
- Add your designs to your Marvel project
- Hover in between any image to create a section
- Name your sections based on the part of the flow, for example ‘Sign up’ and ‘Onboarding’, ‘Billing’
Now when you invite a stakeholder, client or developer to the project, they can see exactly what goes where. Plus, as you work, each design stays in sync when you make updates (via uploading from your computer or our Sketch plugin).
2) Organise low and high fidelity examples in the same project

If you start projects off with sketches or wireframes, then creating a section or two dedicated to low fidelity work as a reference can be incredibly helpful when creating the high fidelity version and will speed up the production of screens.
This can also be helpful for people reviewing projects to see the thought process and evolution of a concept.
(Oh and by the way the Marvel iOS and Android apps can upload sketches and low fidelity designs directly to projects. Download the apps for free)
Here’s how:
- Add your low and high fidelity designs to your Marvel project
- Hover in between any image to create a section
- Name your sections ‘Sketches’ and ‘Wireframes’ and ‘Final’
- Hover over any section and click Options, then Copy link to share
3) Show which designs are in progress or ready to review

It’s common for certain screens in your project to be in draft or in progress, especially on large projects where you’re waiting for sign off or copy to be provided.
Sections can be a massive help in these situations by allowing product managers or marketing to see the current status of a project and what designs need to be reviewed or contributed too. You can also share a link to a specific section externally, so viewers will land at the beginning of the set of designs within your project.
Here’s how:
- Add your designs to your Marvel project
- Hover in between any image to create a section
- Name your sections ‘In Progress’, ‘Ready to review’ and ‘Done’
- Hover over any section and click Options, then Copy link to share
4) Divide work between multiple people

If you’re working on a large project with multiple collaborators, you may often need to divide up responsibilities when either creating, testing or reviewing designs.
In a big, unorganised project, it can be tricky to manage and visualise who is working on what parts of the product or feature. Sections make it easy to split up the different people and their responsibilities.
Here’s how:
- Head to your Marvel project
- Invite your other collaborators by clicking Share
- Add your designs to your Marvel project
- Hover in between any image to create a section
- Name your sections the same name as your collaborators working on the project, for example, ‘Max’, ‘Yavor’, ‘Kitty’ and ‘Charlotte’;
- Collaborators can now add designs to a specific section and work from there
5) Communicate different concepts

If you’re testing or presenting various routes and concepts to users or stakeholders, sections can be used to organise them into a single project within Marvel.
It’s possible to create prototypes from sections that are self-contained (simply don’t link them to another section). That means each section can be a working prototype, separated from other sections - great for presenting.
Here’s how:
- Add your designs to your Marvel project
- Hover in between any image to create a section
- Name your sections based on the different concepts, for example ‘Concept 1’, ‘Concept 2, ‘Concept 3’ and ‘Concept 4';
- Collaborators can now add designs to a specific section and work from there
- Hover over any section and click Options, then Copy link to share with testers or stakeholders
These are only a small number of ways to use sections to organise your projects - click here to just to your dashboard to start creating sections. If you have any examples that aren’t listed here, send us a tweet so we can share with the community!
